
This is part of a regular series in which I attempt (operative word) D.I.Y. projects and bring you, dear reader, the results. The good. The bad. And the hideous. I’ll offer step-by-step instructions so that you can D.I.Y. along with me.
I knew I had to redeem myself after my last DIY Wednesday. It was, to put it mildly, an #epicfail. So this week, I decided to go big. I decided to involve power tools. I decided to build something from scratch Ikea. And then I decided to make it better.
Here’s the backstory you didn’t ask for and don’t care about: I’m getting married in November, at which point my fiancé will be moving in with me. My place is, admittedly, not the biggest. And like most lovable hoarders, I’ve filled every closet, cabinet, and drawer over the four years I’ve lived there. But now that another human will be sharing my space, it’s time to purge to make some room for him and his stuff. But you know what’s way easier than throwing away clothes and knick-knacks to empty out drawers? Buying more drawers.
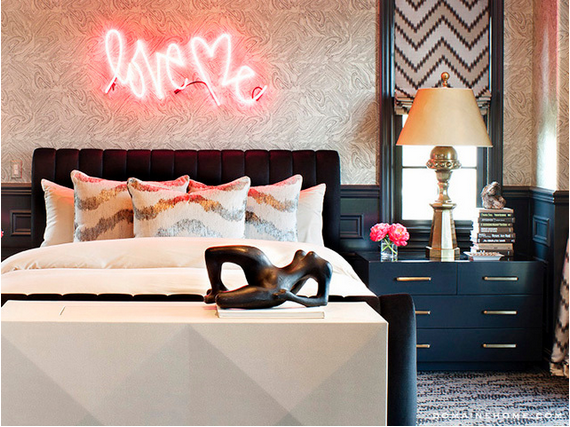
So I decided to upgrade my nightstand from a puny set of nesting tables with zero storage to a three-drawer dresser. I drew inspiration from Kourtney Kardashian’s master bedroom—pausing for you to finish your eye roll—and the large dressers she uses as bedside tables (see above). I loved the nearly black finish and brass hardware and decided I wanted one for myself. (Sidenote: Show of hands for who wants the next installment of DIY Wednesday to be a sexy sculpture to place at the foot of your bed.)
Anyway, because of the aforementioned wedding, money’s tight. I scoured secondhand stores, looking for a clean-lined dresser that I could refinish and update. Nothing worked. Then, my money-minded husband-to-be had a suggestion: What about Ikea? No, I scoffed. They wouldn’t have what I was looking for. I have champagne taste on a tap water budget. But then, I took a second look at the Malm three-drawer chest with my imagination glasses and my cheapskate hat on. With some cool hardware and a paint job, it would do the trick just fine, I decided. (Especially considering it looks just like a similar chest sold at Crate & Barrel.) So up to Frisco I went. I spent a measly $79.99. And then the better part of a Friday night putting it together. During which the fiance and I got snippy with each other approximately four times. Worth it?
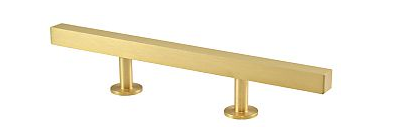
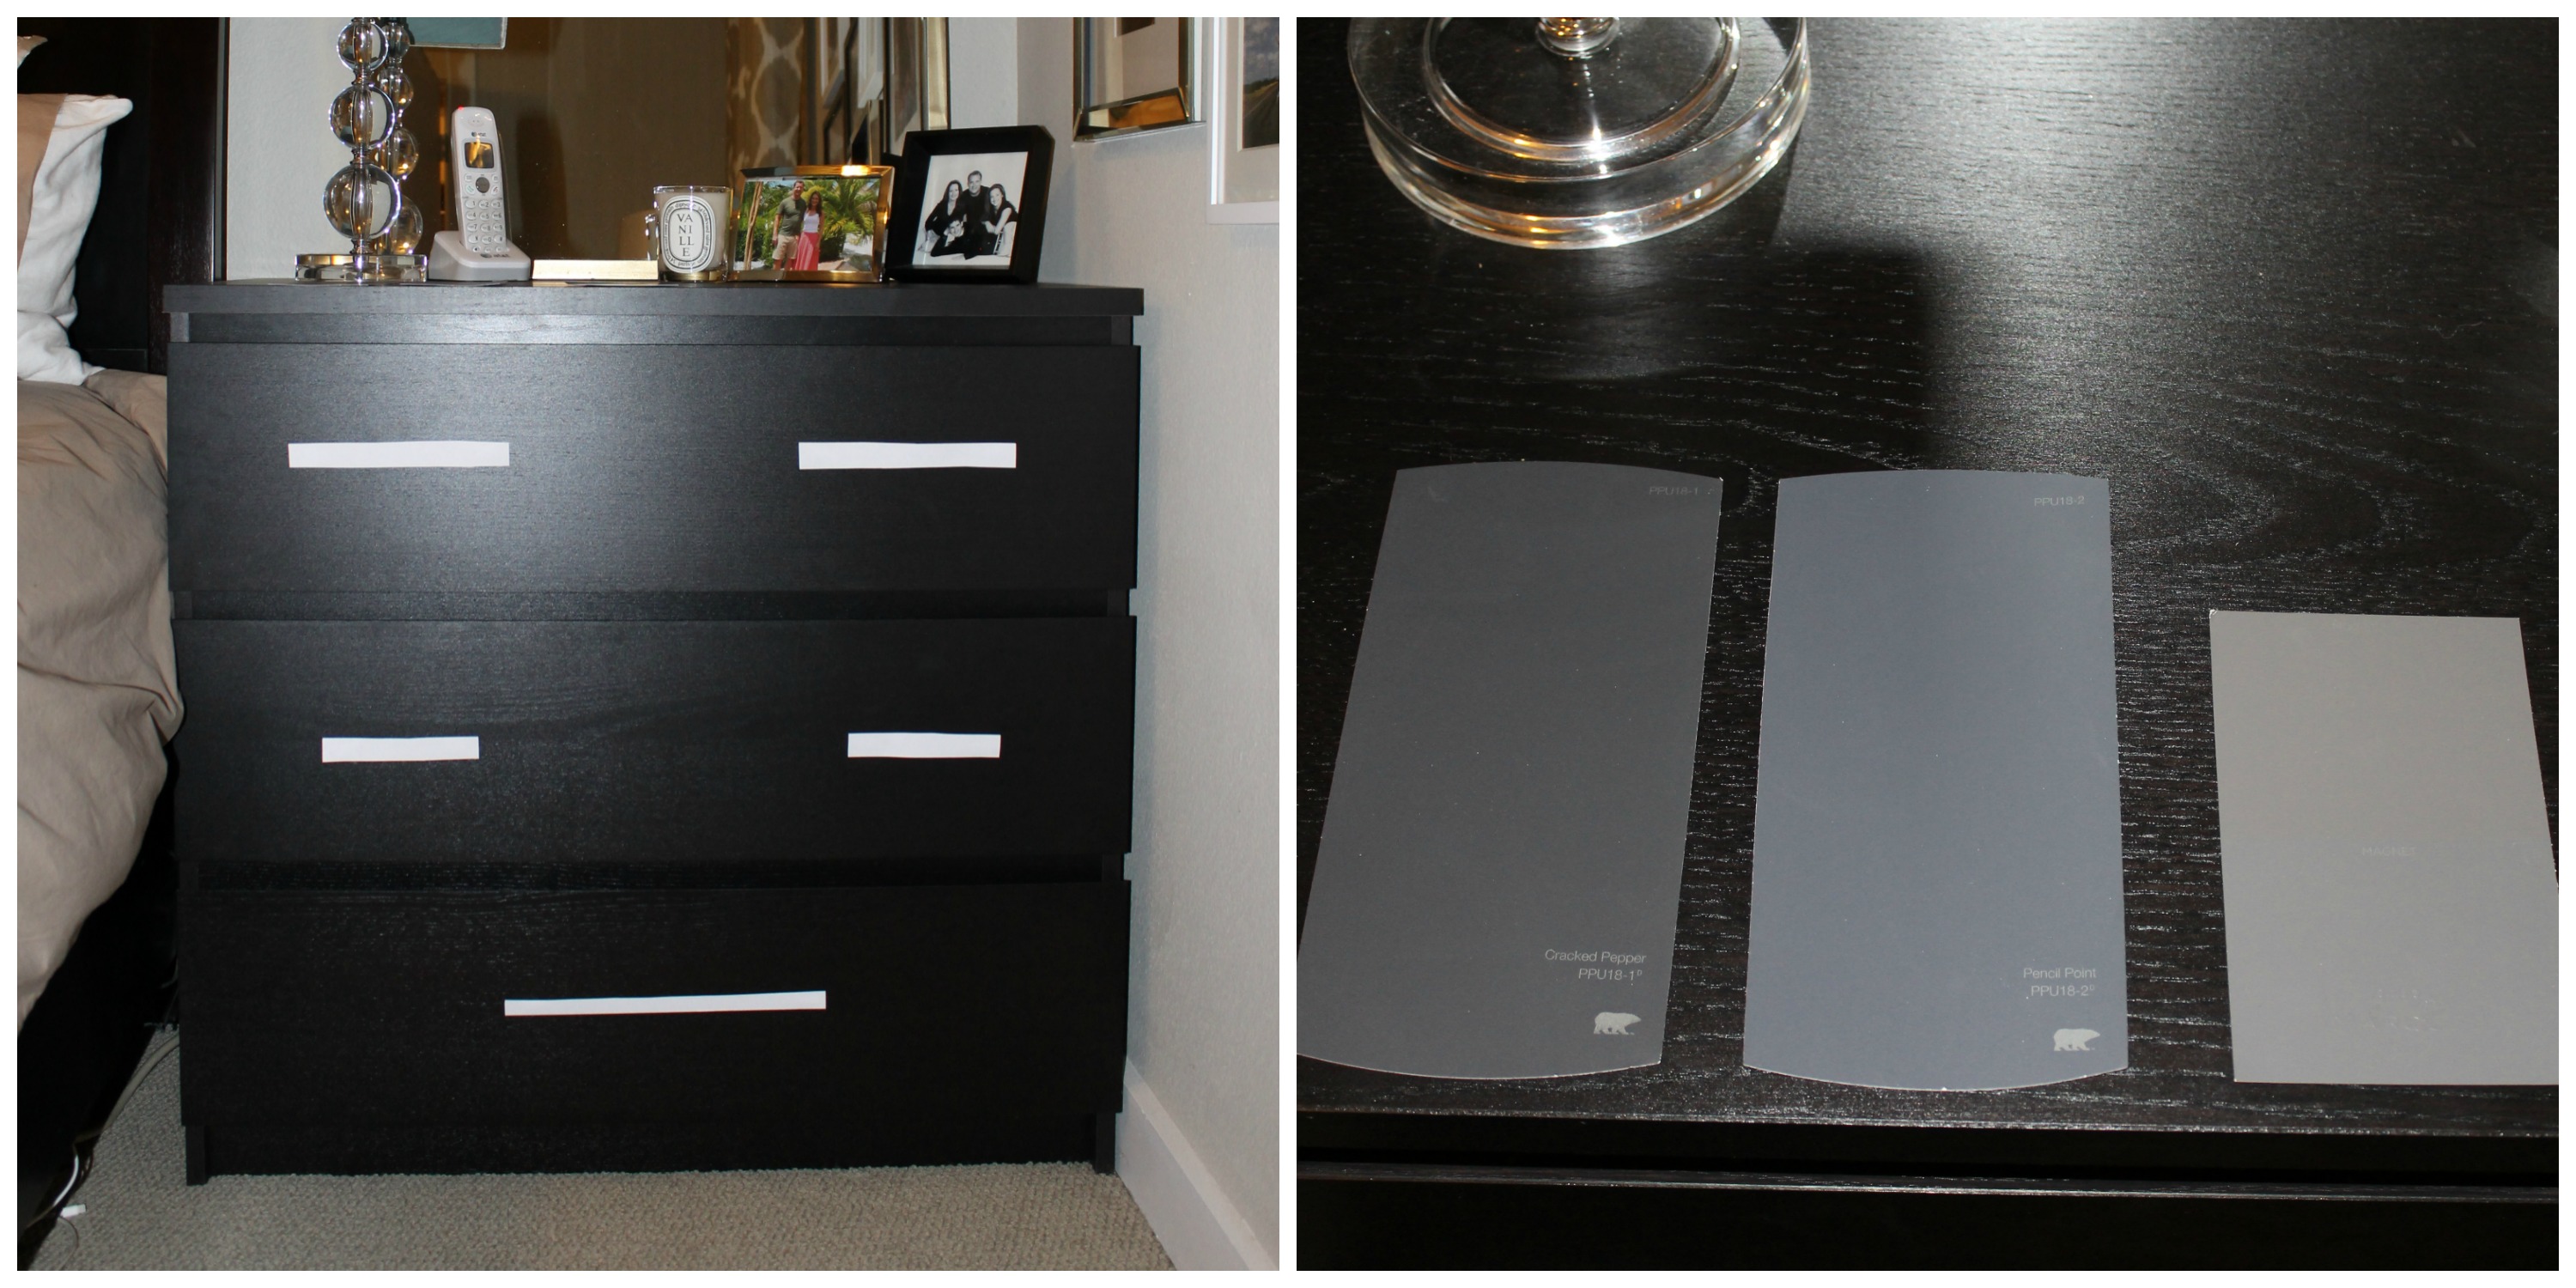
Next, I set about finding hardware. I came upon HardwareHut.com, which has every type of drawer pull you can imagine. I decided on the modern brushed-brass pulls pictured above, which came in a number of different lengths. I was having trouble making my mind up about size, so I cut out pieces of paper of corresponding lengths, then taped them to the drawer faces to give myself a visual (see below). It made it much easier for me to decide on the 7″ pulls, seen on the top drawer. I pulled some paint swatches from Home Depot and let them marinate in my brain until my hardware came in. I studied them in all manner of lighting and I finally decided on Behr PPU18-1 in Cracked Pepper, the shade on the far left. Mmm. Cracked pepper.
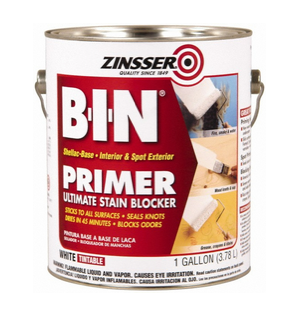
Because I am a hard-hitting journalist, I did extensive research and checked with several official sources on the best methods for painting “not-wood.” Once I was done reading those mommy blogs, I learned that the key is using the right primer. Everyone universally recommended Zinsser BIN Shellac-Based Primer, which is designed specifically for use on laminate surfaces. I picked up a quart at Home Depot for $13.48 and had it tinted to match my paint.
I guess now’s as good a time as any to give you a full list of what you’ll need to complete this project:
- Piece of furniture of your choice
- Your choice of paint (one quart was plenty for a dresser of this size)
- Primer (if painting laminate, like these Ikea dressers, it’s best to use a shellac-based primer like Zinsser BIN)
- A small foam roller (a foam brush is also helpful for edges and crannies)
- A drop cloth or newspaper, for drips
- Medium-grit sandpaper (I used 120)
- A drill (if you’re adding drawer pulls)
- The hardware of your choice
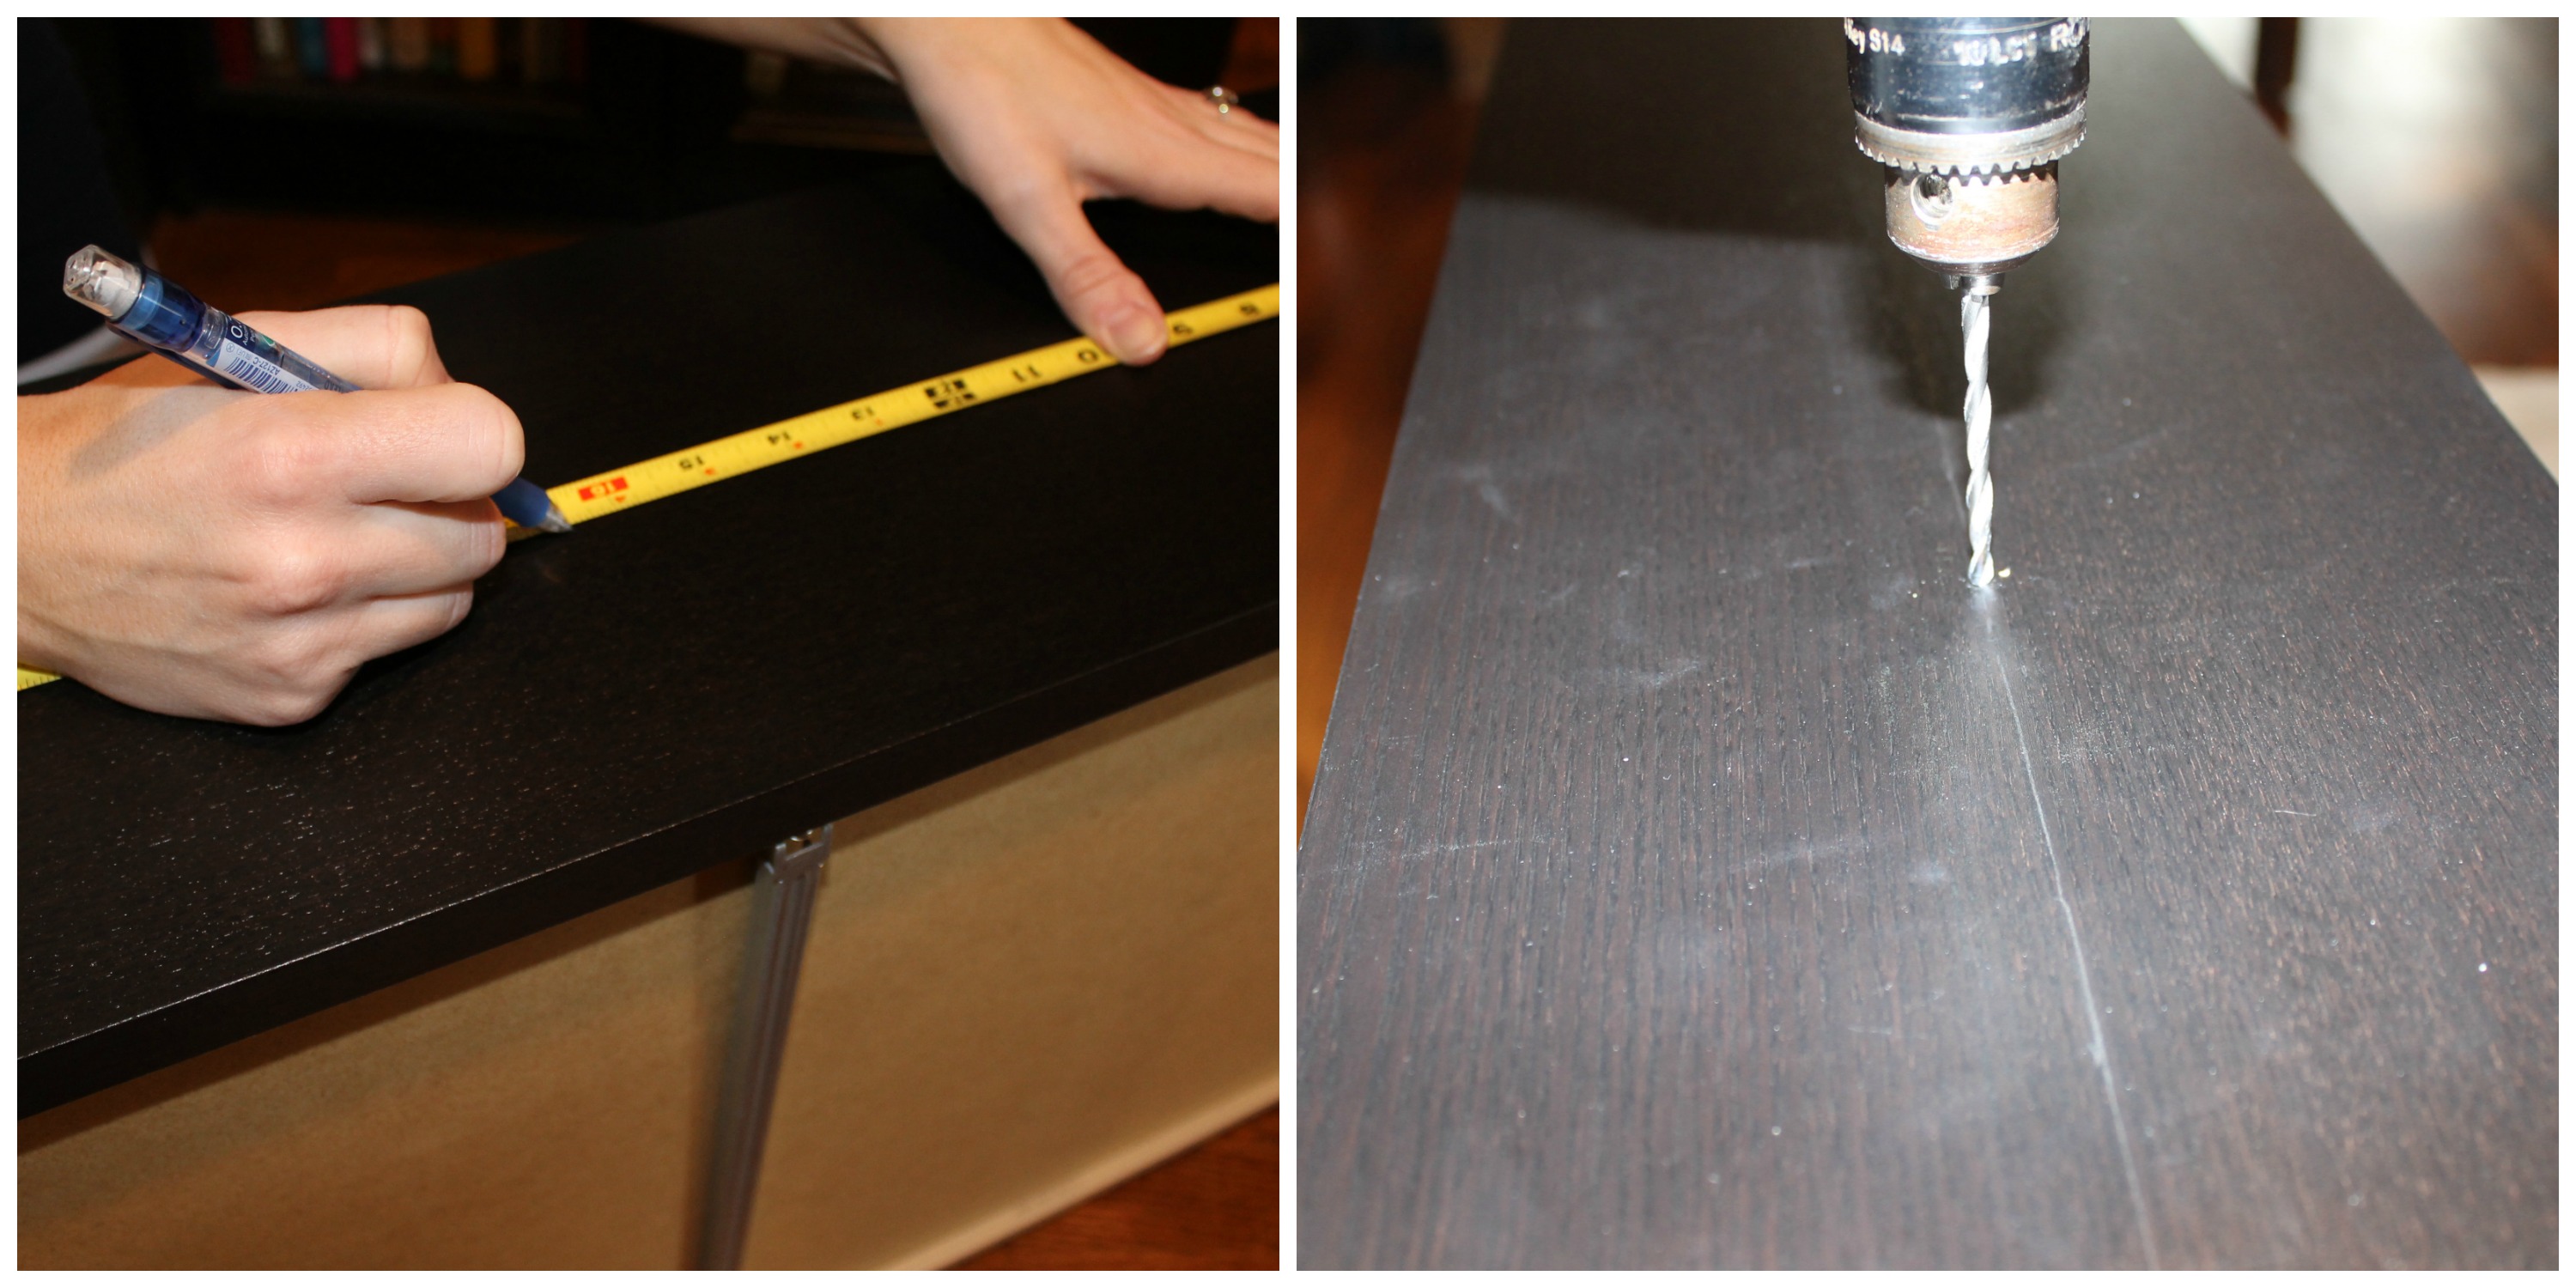
To start my makeover, I measured the drawer faces and marked where the holes should go. Since you’ll be painting over it, you can mark right on the drawer face. Then you’ll want to drill your holes using a power drill. It will take a little force and a strong, steady hand to get your drill bit through this manufactured material. Here is a picture of me working:

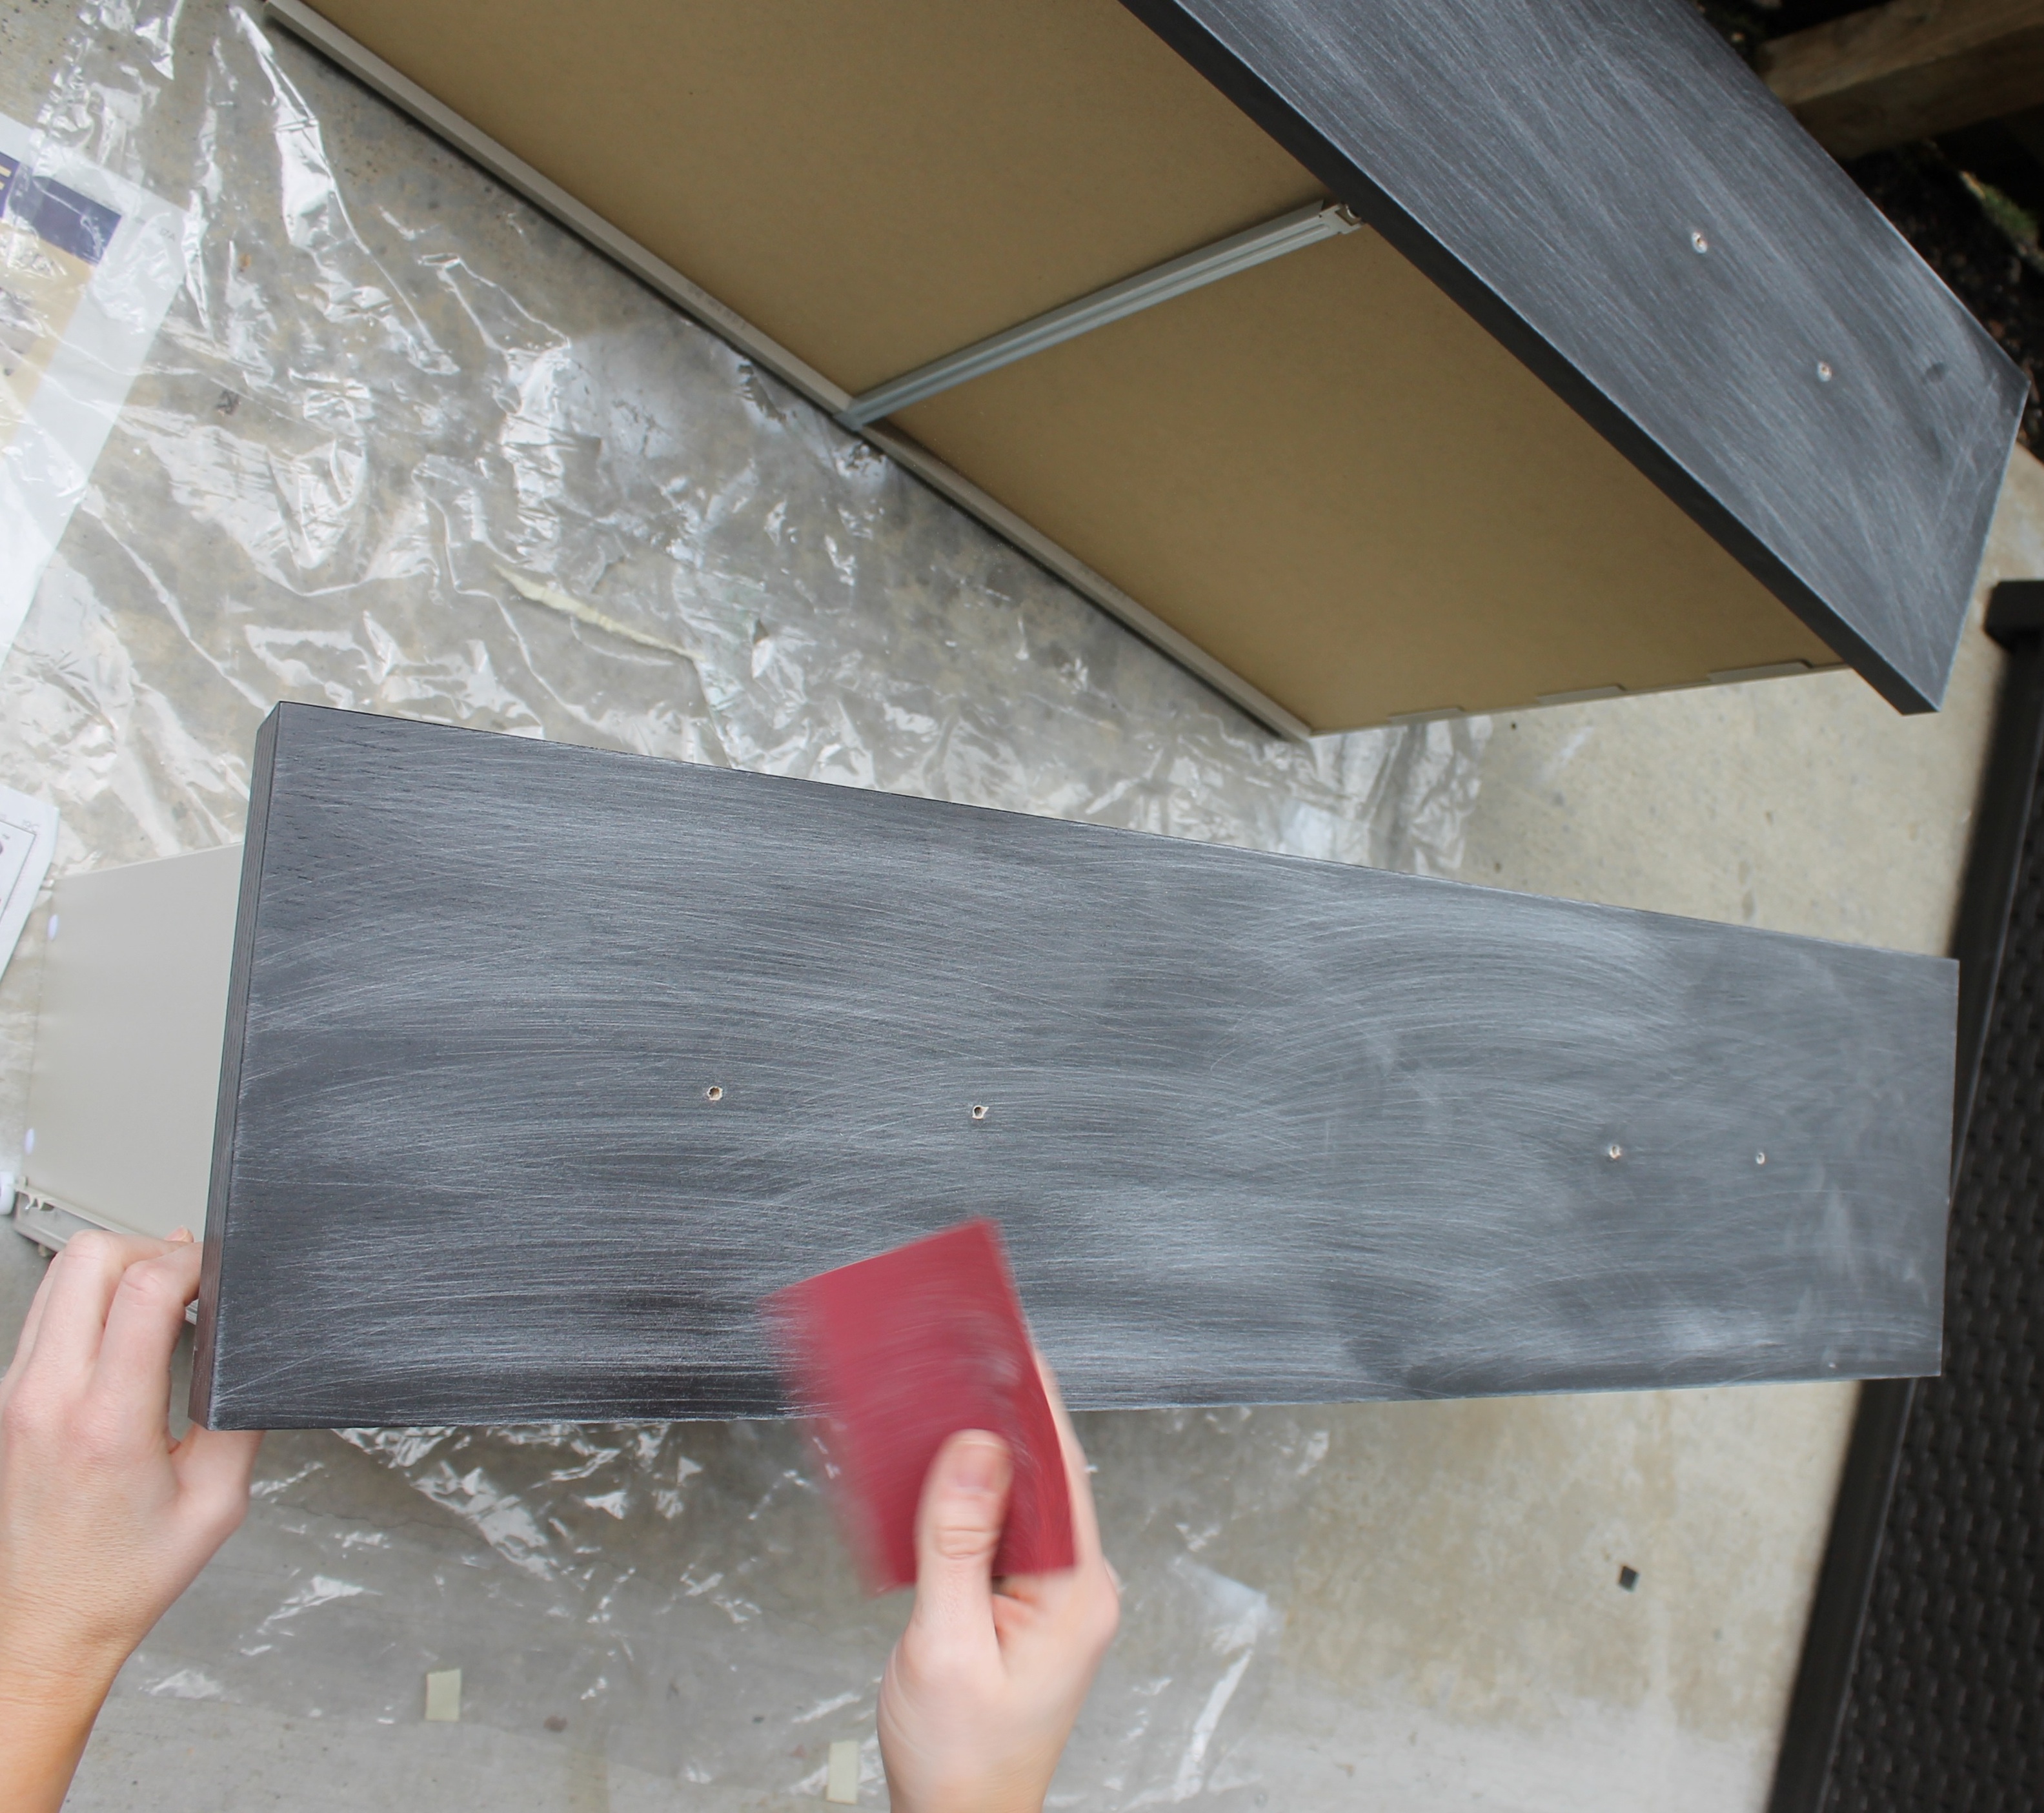
Once all my holes were drilled, I lightly sanded the surfaces of the dresser body and drawers, wiping away the resulting dust with a damp paper towel. You want to create a little grit for the paint to stick to without removing the laminate completely, so don’t press too hard, Schwarzenegger.
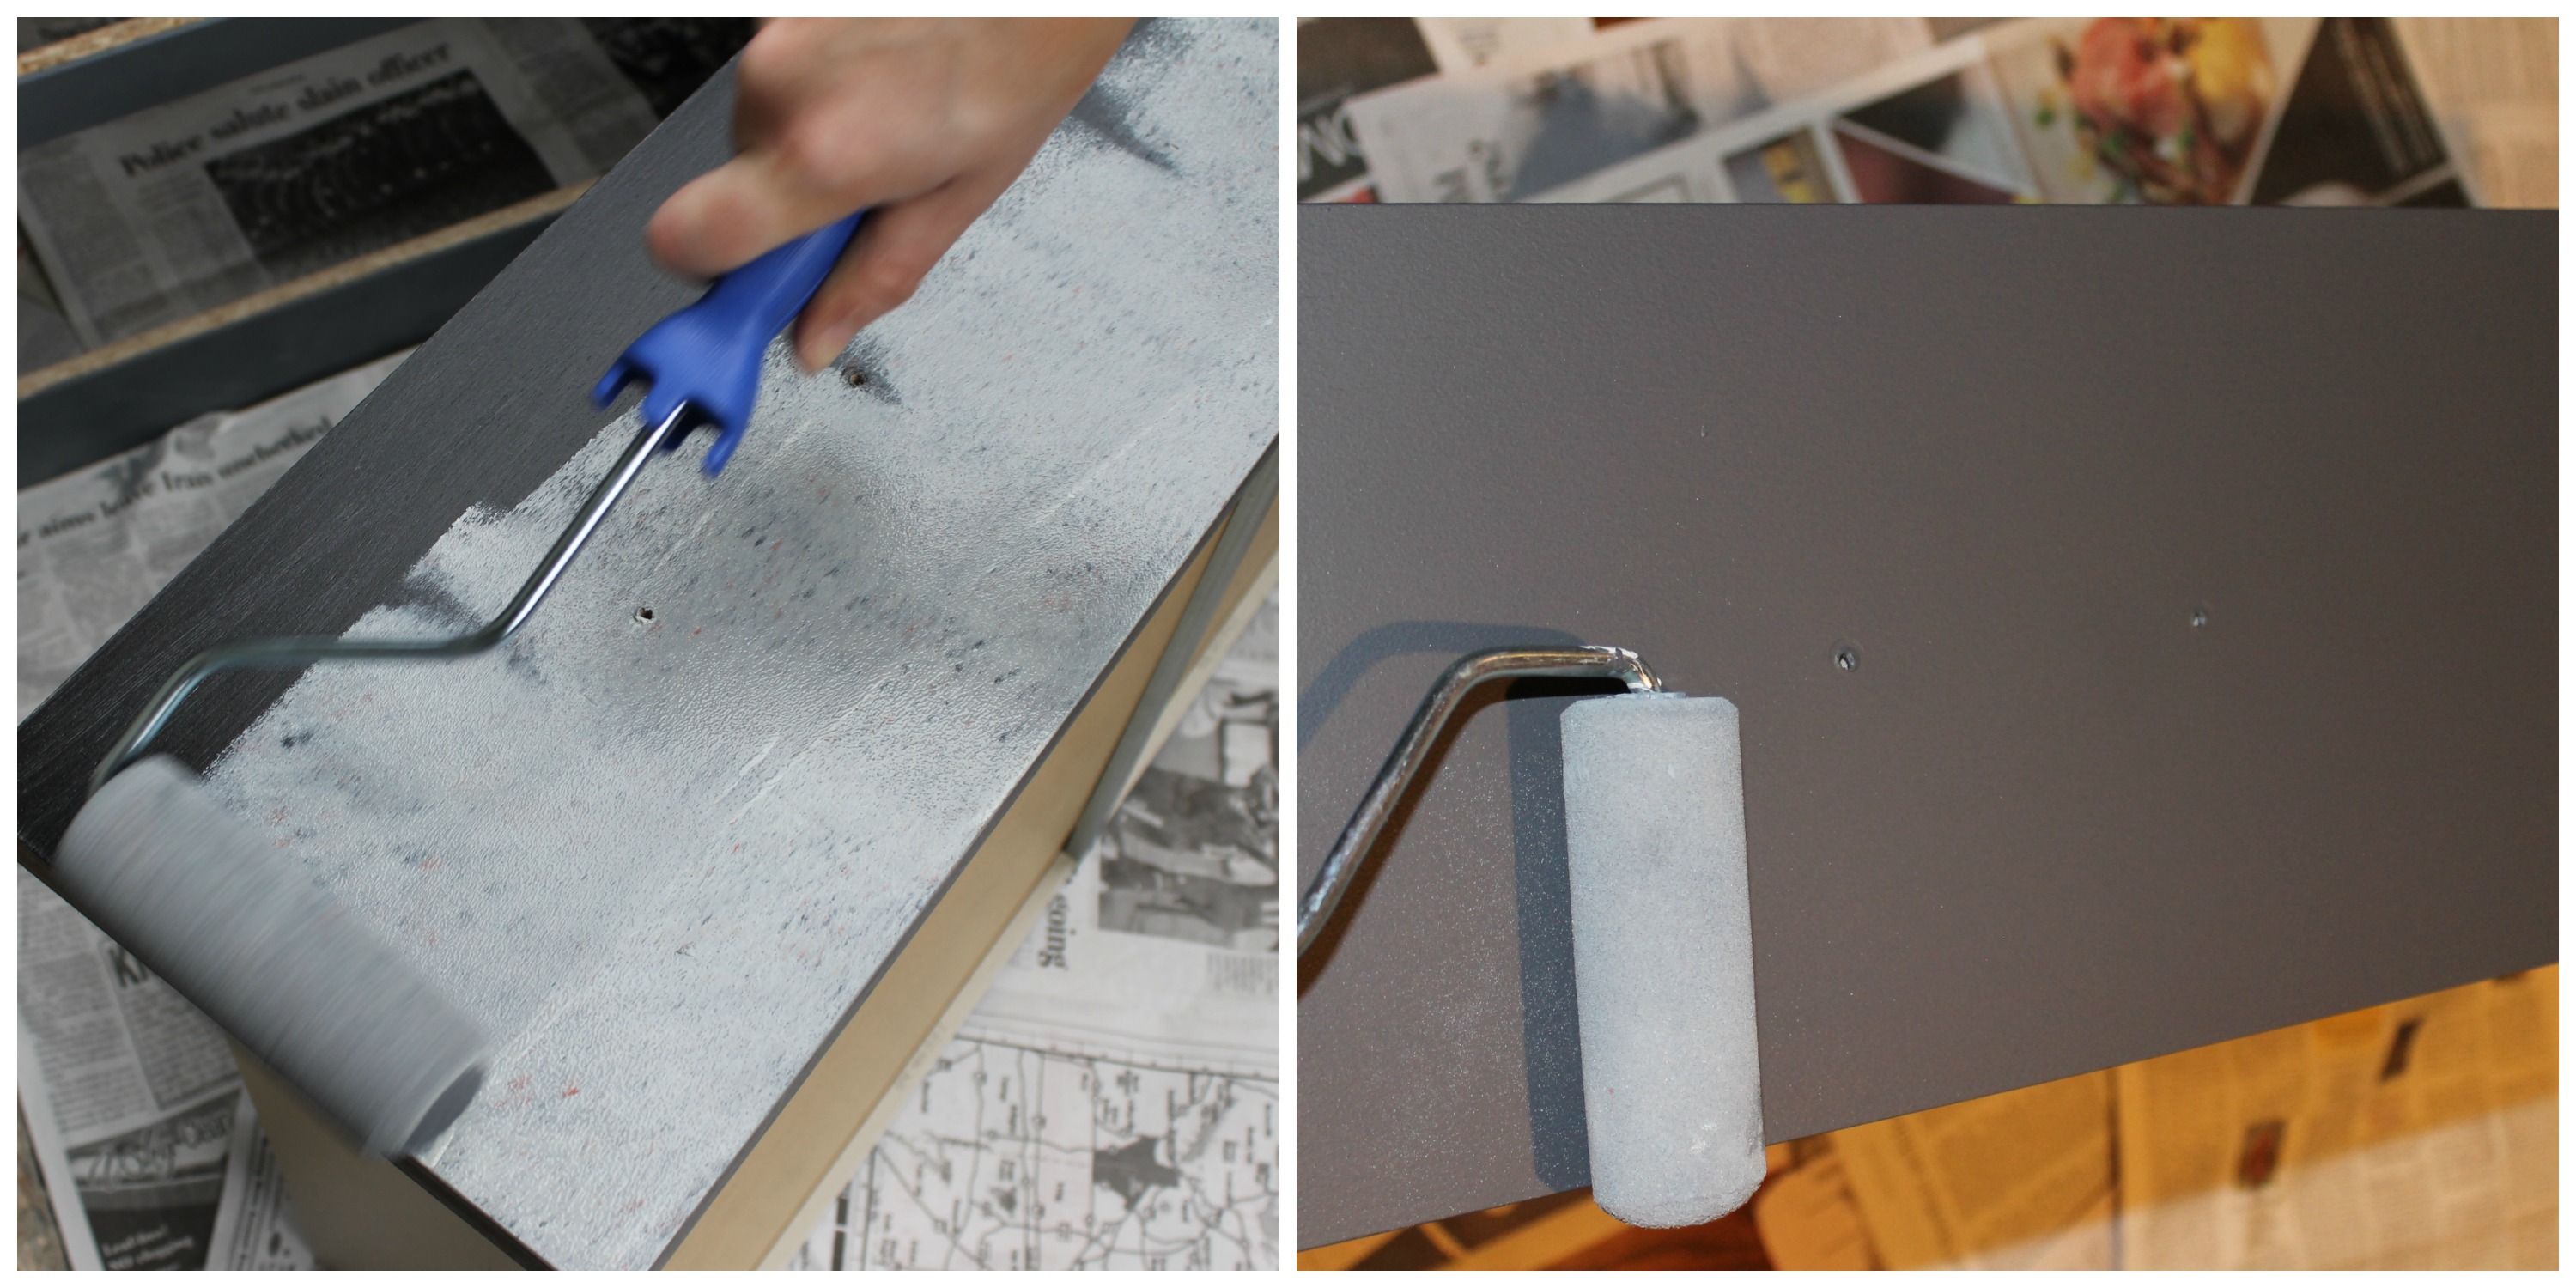
Next I applied one layer of the BIN primer to all surfaces (left), allowing it to dry overnight. I lightly sanded the primer coat, dusting it before applying the first coat of paint (right). I added two more coats of paint, allowing the paint to dry fully between coats. Pass the time by reading heartwarming stories about how senior citizens serendipitously fell in love half a century ago in the Dallas Morning News, which is now stuck to the bottom of your dresser. If paint drips block some of the words, just make them up—it’s like a Choose Your Own Adventure!
Once everything was dry, I put the hardware on. Hopefully you are more patient than I am and actually practice the “measure twice, cut once” philosophy so you don’t have to drill the holes wider in order for the screws to go in straight. If you want to customize your piece even further, there are brilliant people out there who sell overlays and faux finishes that are made to perfectly fit popular Ikea products.
When all the hardware was attached, I slid the drawers in the dresser, and voila! Uncanny, right?
Just kidding. Here’s the real finished product:
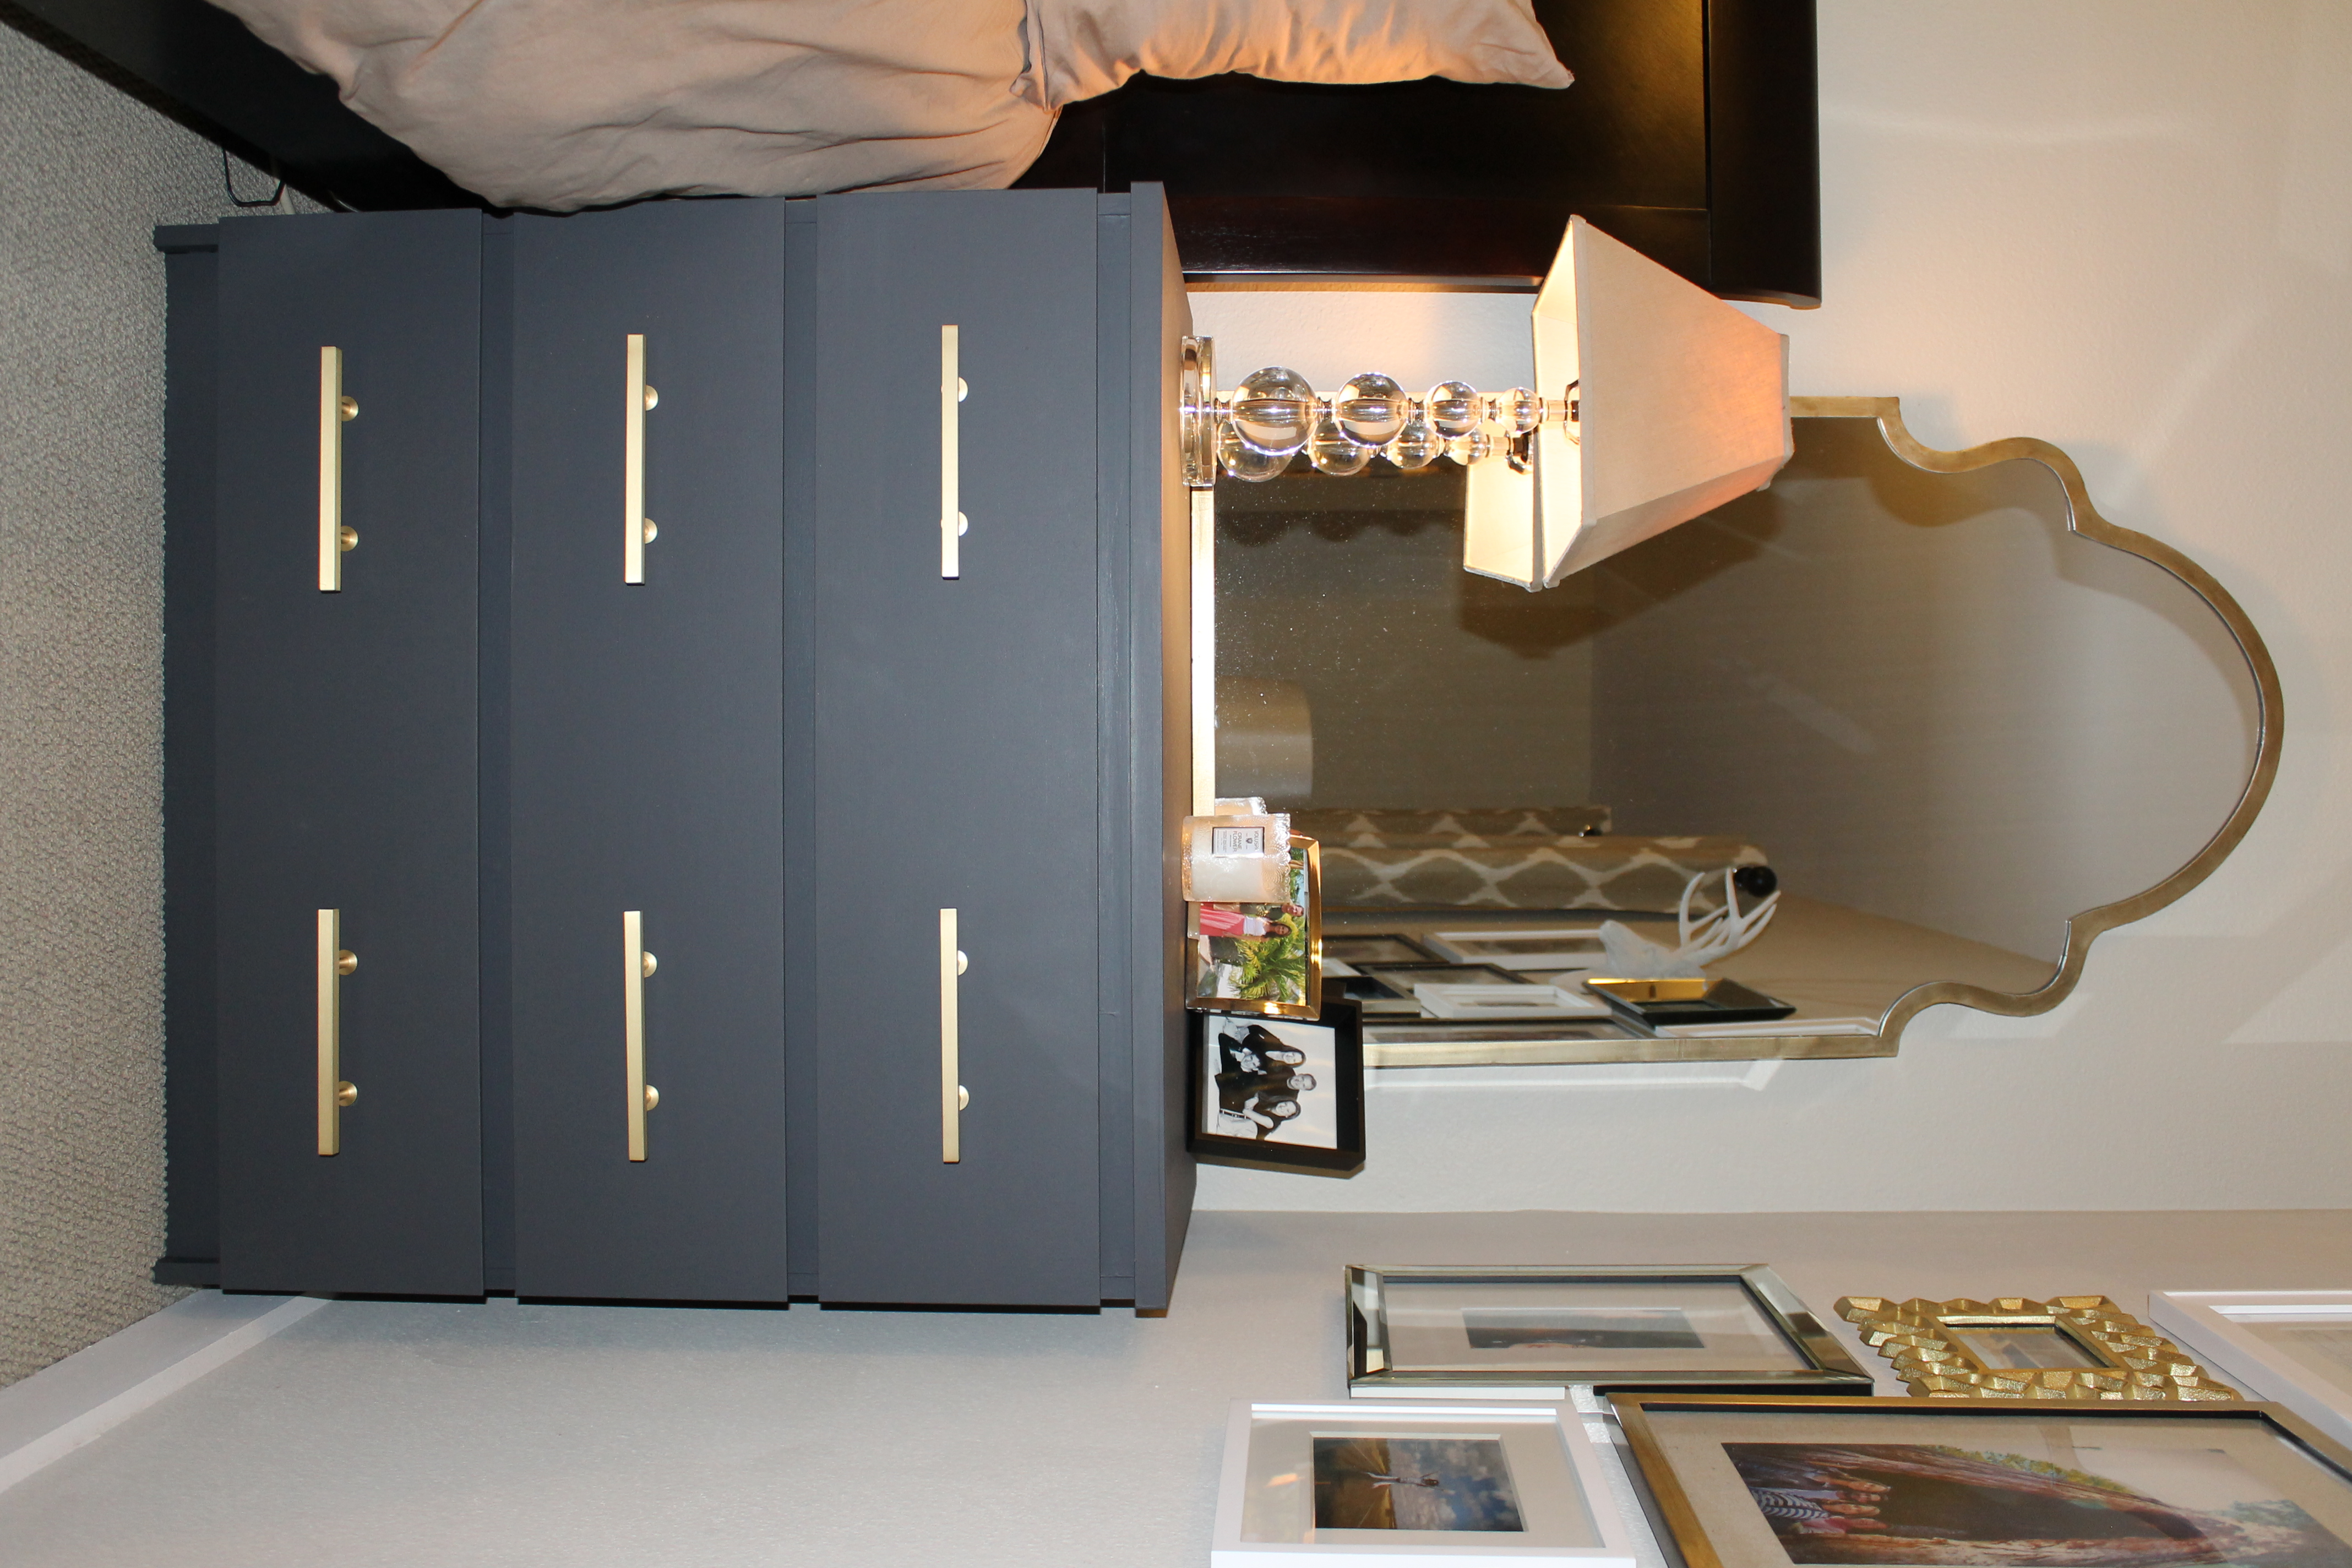
Hey, I may not be a Kardashian, but at least I got rid of the landline phone from the first photo. It’s called styling.
Verdict: While this took a lot more time and effort than previous projects, the scale was also a lot grander, and the results were substantially more rewarding. If you have the proper tools, this is not difficult to pull off. Once you get the dresser assembled and survive that test to your relationship, the rest is a cinch. For a grand total of about $200, I have a storage-heavy nightstand that I love (and have already managed to fill). Success!
UPDATE: IKEA has issued a recall for their Malm dressers because of two incidents in which they’ve tipped over and killed children. They’re offering wall anchor kits for anyone who has purchased one to ensure safe use.