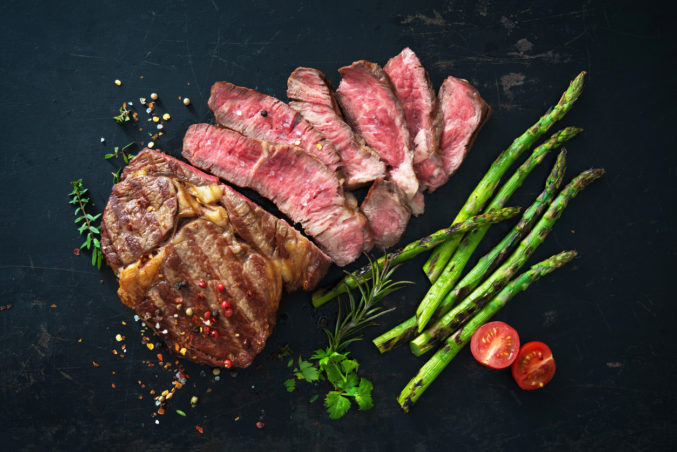
Last July, we did a round-up of the city’s best butcher shops. And then I hosted a Fourth of July barbecue with a dream meat menu. This year, I thought I might keep it simple and grill some steaks. So I reached out to Matt Hamilton, at Local Yocal Farm to Market in McKinney, and Cal Wineland, at American Butchers in the Dallas Farmers Market, to find out how to do it right.
How to Cook the Perfect Steak IN the Grill
By Matt Hamilton, Local Yocal Farm to Market
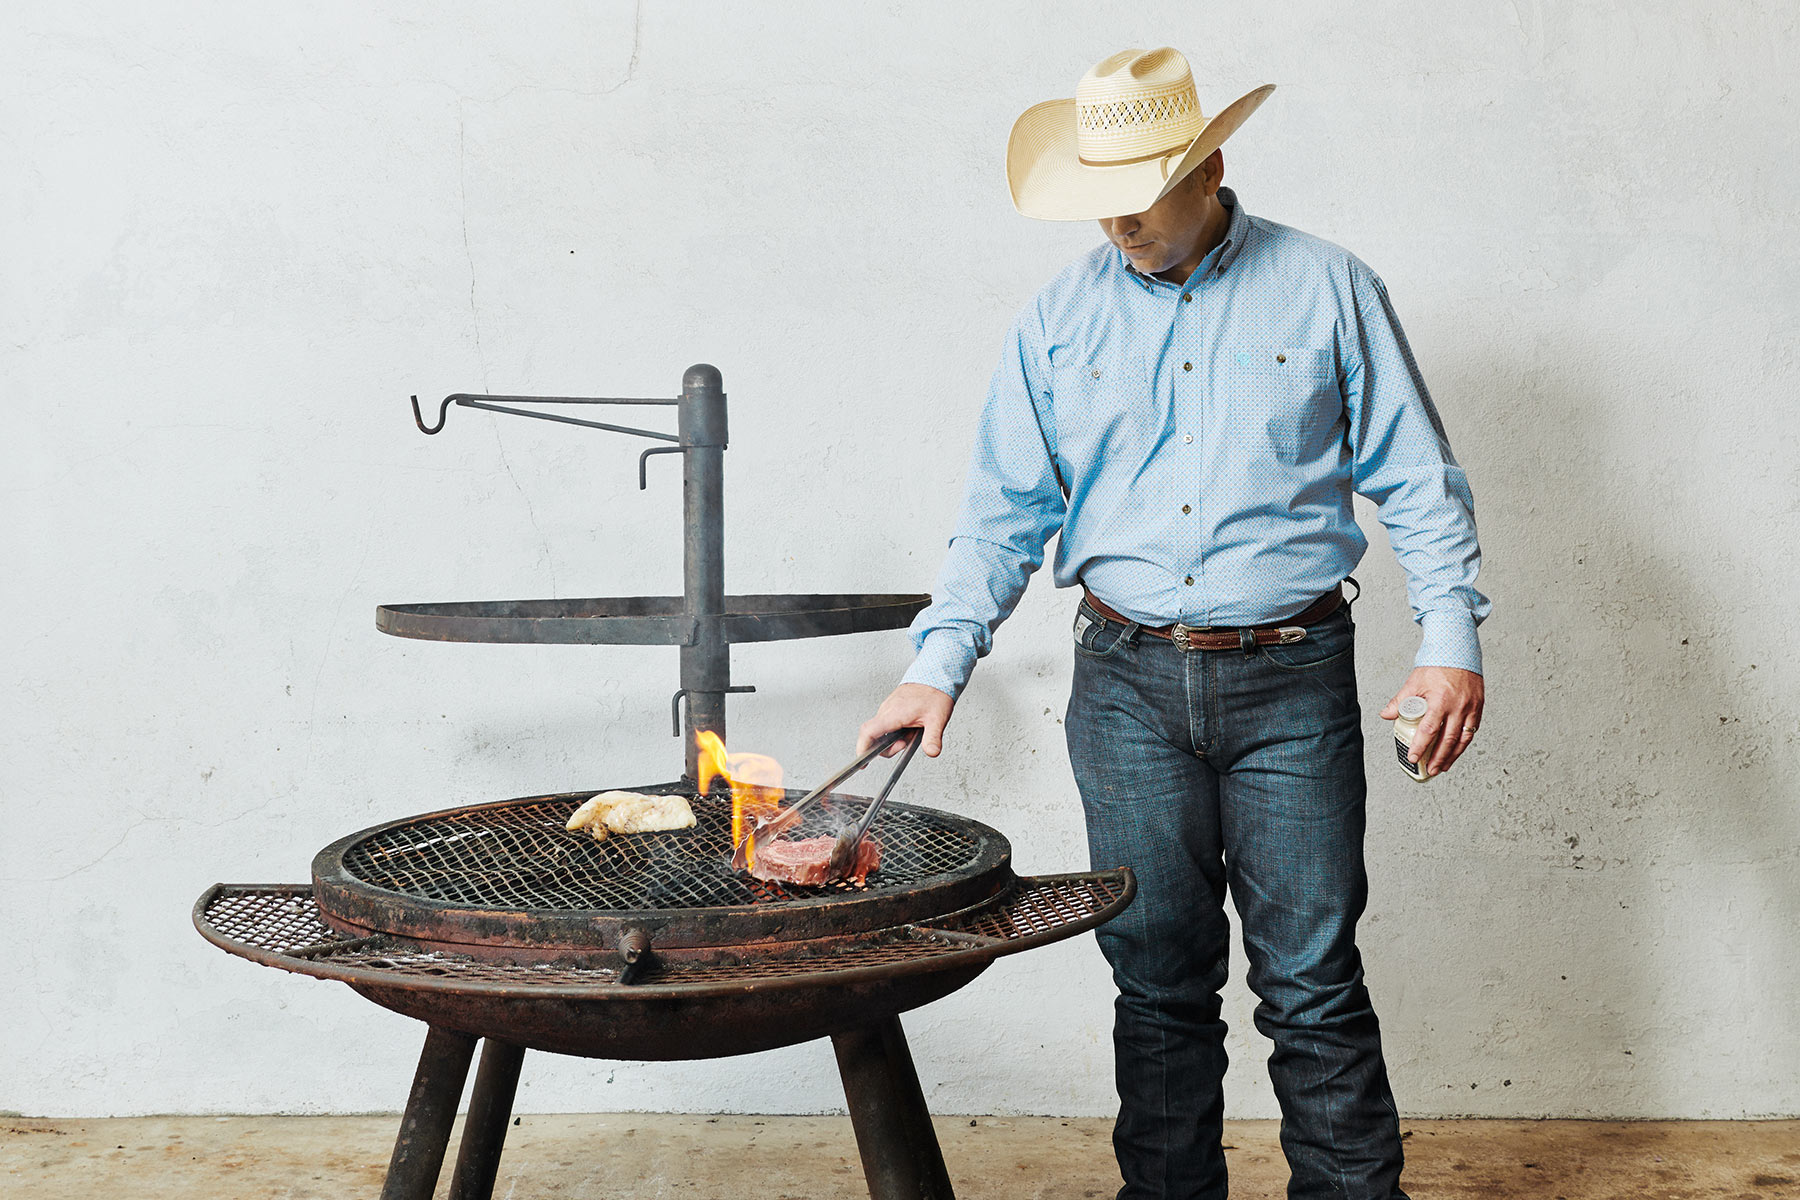
Rancher and butcher Matt Hamilton opened Local Yocal Farm to Market just off the historic town square in 2010. To keep up with demand, he added Local Yocal BBQ & Grill last year. The native Oklahoman is a true showman, and an Argentinian gaucho-style grill is his chosen stage. At his popular Steak 101 classes, offered Saturdays from 11 a.m. to 2 p.m., he likes to throw a prime cut of beef directly on the coals. It never fails to elicit gasps of awe.
One of the unique things we do is cook steaks directly on the charcoal, so naturally we get asked a lot questions about that. This is a fun way to cook a steak. Not only does it give you an amazing char on the outside—like a pie crust made out of meat—but it also impresses your friends (or at least freaks them out). Here are some things to keep in mind for this technique.
- Only use lump charcoal. Briquets are not advised!
- Make sure the coals are mature and fully burning, which is usually 15 minutes after you dump them out of the chimney.
- Rake the coals to knock off the ash. Use tongs, a fire poker, a sticks—anything but your fingers.
- Carefully place the steak on the coals and leave it for a couple of minutes. It is ready to turn when you pick it up and the coals do not stick to it.
- Important: on the turn, you will need to re-rake the coals and preferably move over to an adjacent area from where you cooked the first side.
- We usually cook a steak for about 2–3 minutes on each side for char and effect. At this point, you have a steak that is rare to rare-plus. If you wish to further your cooking temperature up the chart, place the steak on the grill top and finish to your desired temperature.
- As always there are only three levels of doneness: Rare, Medium Rare, and Ruined.

How to Cook the Perfect Steak ON the Grill
By Cal Wineland, American Butchers
Before Calvin Wineland opened American Butchers at the Dallas Farmers Market with his wife, Desiree, he flew Chinooks and Black Hawks as an Army helicopter pilot. Now he makes the weekly 11-hour drive to his home state of Nebraska to individually butcher animals from small ranchers. Want to know where your meat comes from? He’ll put the people that raised it on the phone with you.
- Let your steak come to room temperature before grilling. It will allow the meat to breathe and open up the flavors.
- Make sure you clean your grill before using. Bacteria build-up can spread to your meat and make you sick.
- Use a cooking thermometer to ensure the meat is prepared to your and your guests’ liking.
- Don’t keep moving the meat around the grill. The more you flip it, the more unevenly it will cook.
- Don’t press your meats. You want to keep the moisture and flavor inside, not squeezed out.
- Once you remove the meat from the grill, let it rest. It will continue cooking for an additional 5 degrees, and resting allows the internal juices to redistribute within the meat.
- And my best advice is to always keep the Grill Master hydrated with a nice, cold beverage. And that goes for your butcher, too.
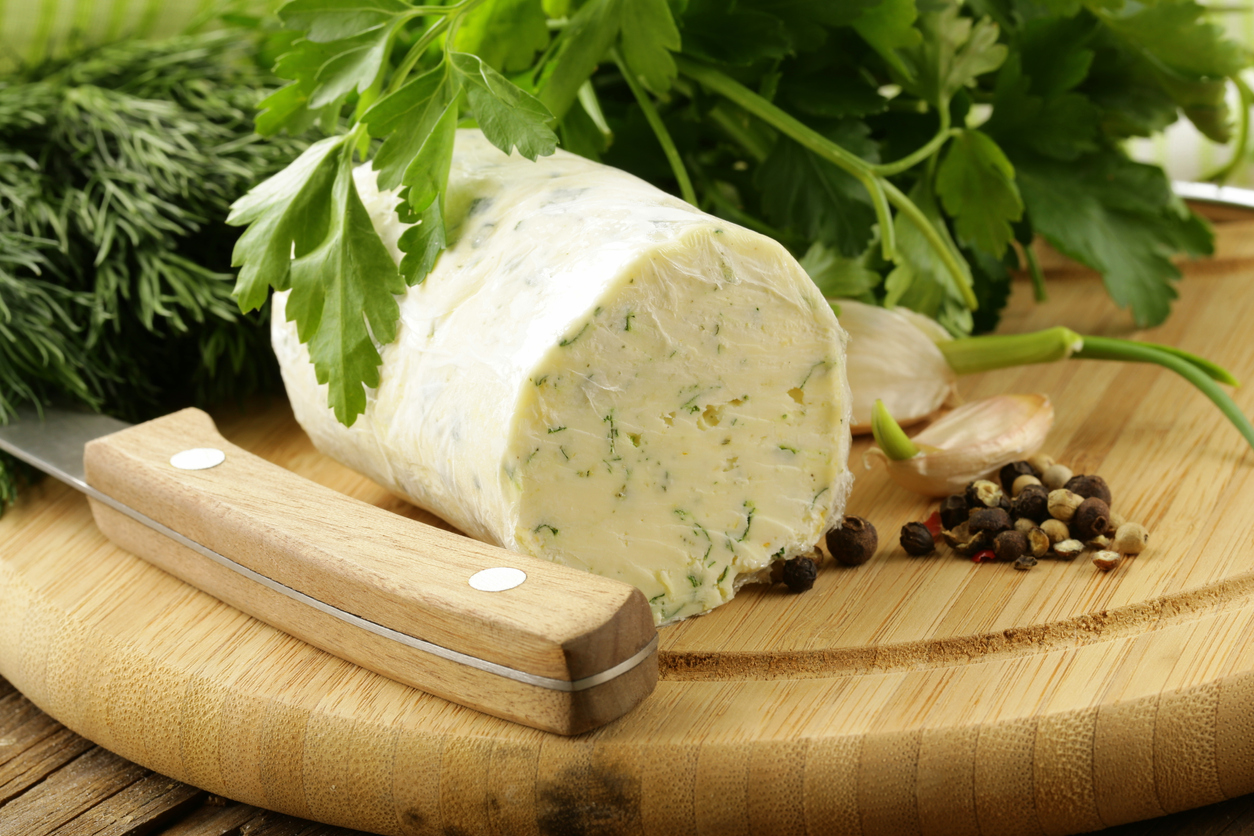
Add a Better Cut of Butter
A juicy steak cooked over a hot flame is just about perfect on its own. But a slice of homemade butter can make it even better. Here are two easy options.
Option 1: Churn It
Ingredients:
- 1 pint whipping cream
- 1 tbsp. buttermilk
Directions:
If you’re using farm fresh cream from your cow, you’ve got to separate the cream from the milk. This is easy enough to do as the milk naturally settles to the bottom and the cream floats to the top after a few hours in the refrigerator. Use a turkey baster to simply suck up the cream off the top. (There will usually be about a 1-inch layer of cream for every gallon of milk.)
If you don’t have a cow, combine the cream and buttermilk in a bowl. Let sit at room temperature for 8 hours. This is the “culturing” or fermenting part of creating cultured butter. During the culturing process, bacteria converts the milk sugars into lactic acid. This results in a much more “buttery” butter.
Pour the mixture in your standing mixer, food processor, or blender. Turn it on medium speed and allow the cream to whip. It will start to look just like whipped cream–and then keep going and going until you get large checks of butter floating in a milky liquid.
Remove the butter chunks from the bowl and kneed together to form a ball. Run the ball under cold water and then knead the butter for 3 minutes or until the buttermilk is no longer draining from the butter ball.
You did it! At this point the butter can be eaten, salted, or frozen. I simply wrap my butter ball up in a small piece of parchment paper and tuck it into a freezer bag for preservation.
Option 2: Flavor It
Ingredients:
- Butter
- Flavor additives of your choice
Flavor options:
- Berries
- Puréed fruit
- Honey
- Maple syrup
- Mix of cinnamon and brown or maple sugar
- Citrus zest
- Pesto
- Basically, you can add any fresh or dried herb or spice. At American Butchers, we like to use crumbled bacon or jerky and add mustard, caramelized onions, or mushrooms.
Directions:
Take a stick or two of butter and let it come to room temperature until it’s nice and soft. Stir softened butter with your favorite flavors, using about 2–3 tbsp. of solids (like fresh herbs, fruits, or citrus zest) or 1–1.5 tbsp. of powders (like curry or chili powder) per stick of butter. Refrigerate butter mixture for 10 minutes or until it firms up slightly.
Remove the butter mixture from the refrigerator and place it in the center of a piece of parchment paper or plastic wrap. Roll it into a log and twist up each end. (Another idea is to spoon it into a ramekin, cover with plastic wrap, and use it at the table.) Chill until firmly set.
Use a slice on top of grilled meats (butter mixed with fresh mint goes perfectly with lamb), or melt some and pour it over freshly made popcorn.
Note: It is best to use the butter within one week if it is stored in the fridge. It can be stored in the freezer for about a month.